How to Mill Your Own Flour at Home (And Why It's Worth Doing)

Most flour has been sitting somewhere for a while. It was milled in a large facility, shipped to a warehouse, trucked to a store, and then sat on a shelf before it ever reached your kitchen. Along the way it lost a good deal of what made it worth eating.
Milling your own flour changes that equation. It takes a few minutes, requires one piece of equipment, and produces something noticeably different from what comes in a bag. Here's how it works and what you need to get started.
Why Fresh-Milled Flour Is Different
A whole grain of wheat has three parts: the bran, the endosperm, and the germ. The germ is where most of the oil lives, along with a large share of the vitamins and minerals. It's also what makes whole wheat flour go rancid.
Commercial milling usually removes the germ and bran for exactly that reason. What's left is shelf-stable, but it's also stripped of much of the grain's nutritional value and most of its flavor. Even flour labeled whole wheat has typically been sitting long enough for those oils to start turning.
When you mill at home, you use the whole grain and you use it immediately. The result tastes sweeter and more complex, and it behaves differently in baking. Bread made with fresh-milled flour tends to have more character and a fuller aroma.
Choosing a Mill
Home mills fall into a few categories, and the right one depends on how much you plan to grind.
Electric impact mills are fast and produce very fine flour. They're the practical choice for anyone baking regularly, though they're loud and generally can't handle oily seeds.
Stone burr mills grind more slowly and stay cooler, which some bakers prefer since heat can degrade the oils in the germ. They handle a wider range of grains and produce excellent results, but they cost more.
Manual mills are inexpensive and require no power, which makes them appealing for emergency preparedness or occasional use. They're genuinely hard work for anything more than a small batch.
Stand mixer attachments are a reasonable middle ground if you already own the mixer and mill occasionally.
What to Mill
Different wheats produce different flours, and matching the grain to the bake matters more than most people expect.
Hard red spring wheat has high protein and strong gluten, which makes it the standard choice for yeast breads. Hard red winter wheat is slightly milder with a similar protein profile, and works well for everyday bread baking.
Hard white winter wheat is the one that surprises people. It has comparable protein to the red wheats but a lighter color and a milder, sweeter flavor. If you've had trouble getting family members on board with whole wheat bread, this is often the grain that changes their mind.
Beyond wheat, a home mill will handle barley, rice, corn, and oats, which opens up a much wider range of flours than you'll find in most stores.
Getting Started
Begin with a small batch to learn your mill. Run the grain through on a coarse setting first, then adjust finer until you get the texture you want. Most mills need a bit of dialing in.
Mill only what you need for the recipe in front of you. Fresh flour starts losing its advantage within days, so grinding as you go is the whole point. If you do end up with extra, refrigerate or freeze it.
Expect your dough to behave differently at first. Fresh-milled flour absorbs water differently than commercial flour, and most bakers need a few attempts to recalibrate. Give it three or four bakes before judging the results.
Start With Better Grain
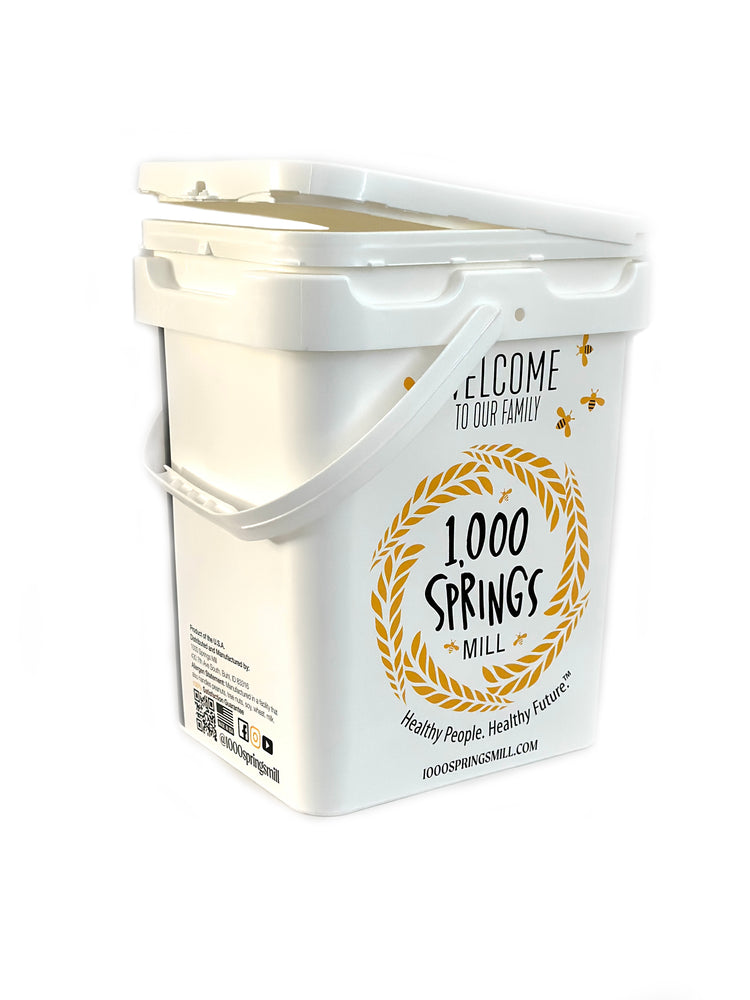
Fresh milling only pays off if the grain is worth milling. Our wheat berries are grown on third-generation family farms in Buhl, Idaho using organic and regenerative practices, and they're available in bulk formats sized for anyone milling regularly.
Whole grains also store far longer than flour does, which is the other quiet advantage of milling at home. Buy the grain, store it properly, and mill what you need when you need it.